Images are not shown full size. Right-click and view them separately to see in more detail. The last few photos at the bottom show the problems we had. | |
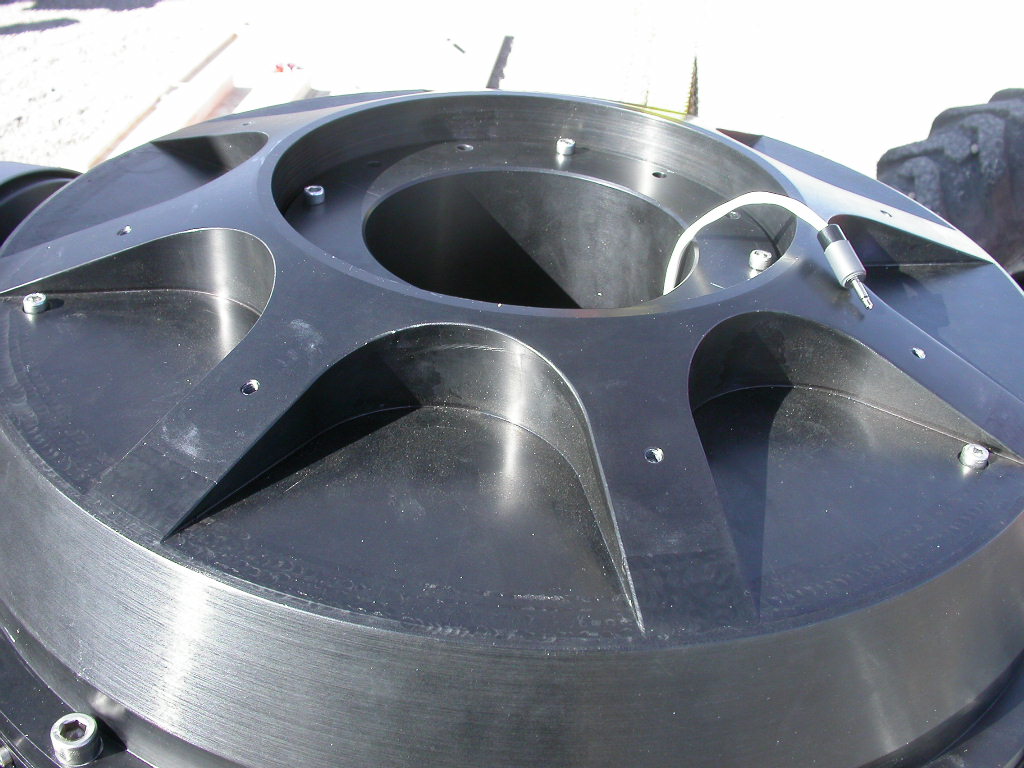 | Here's the back of the OTA with the primary and corrector cell installed. |
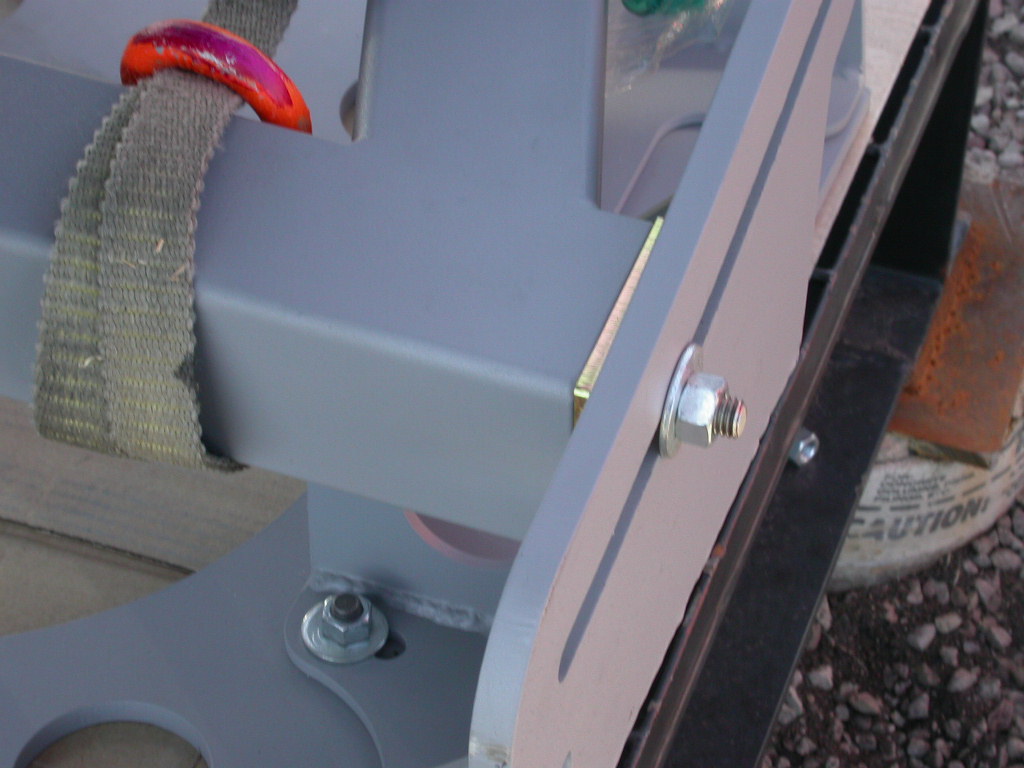 | Here's how the front of the mount attaches to the interface. |
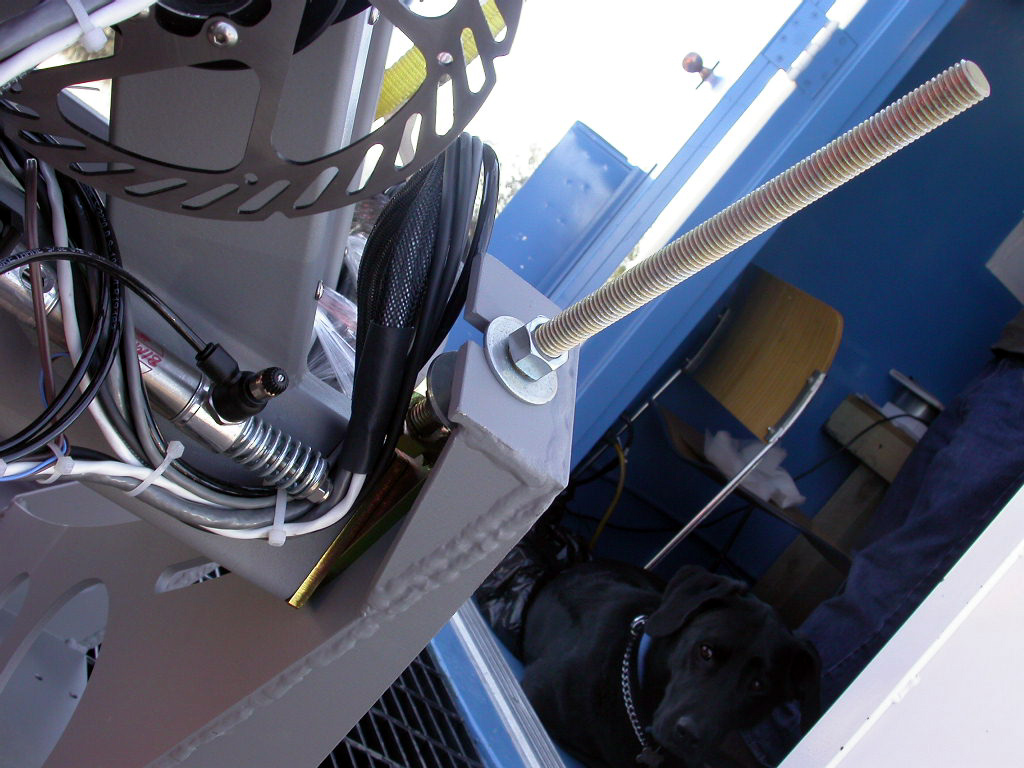 | And here's how the rear attaches. |
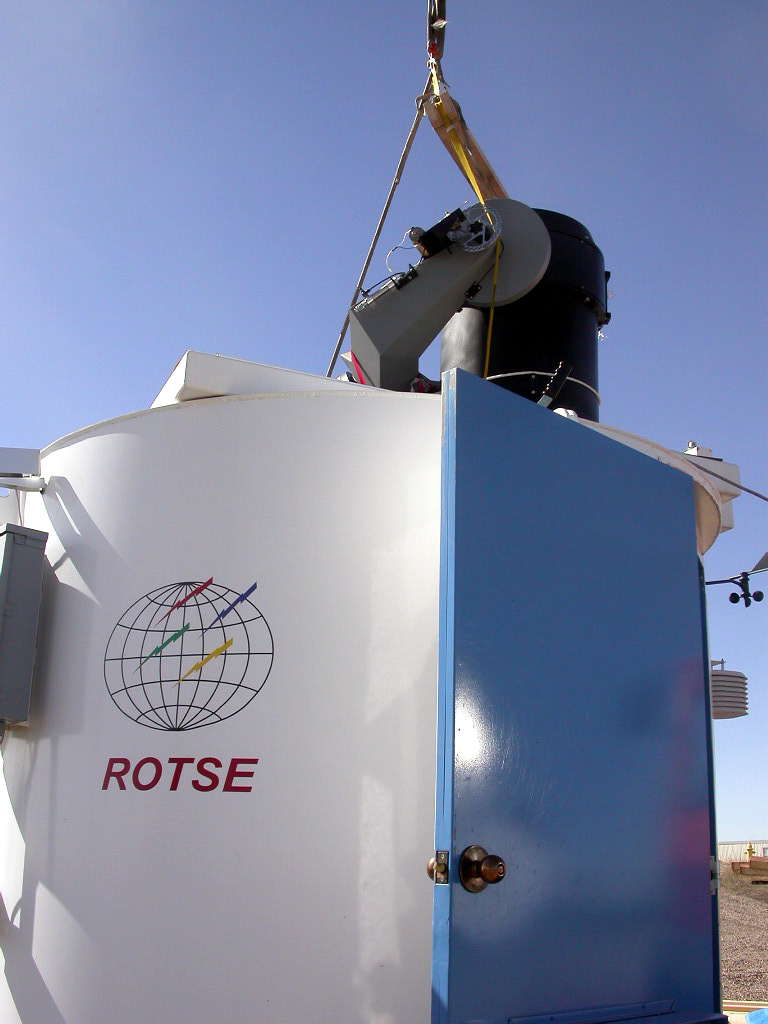
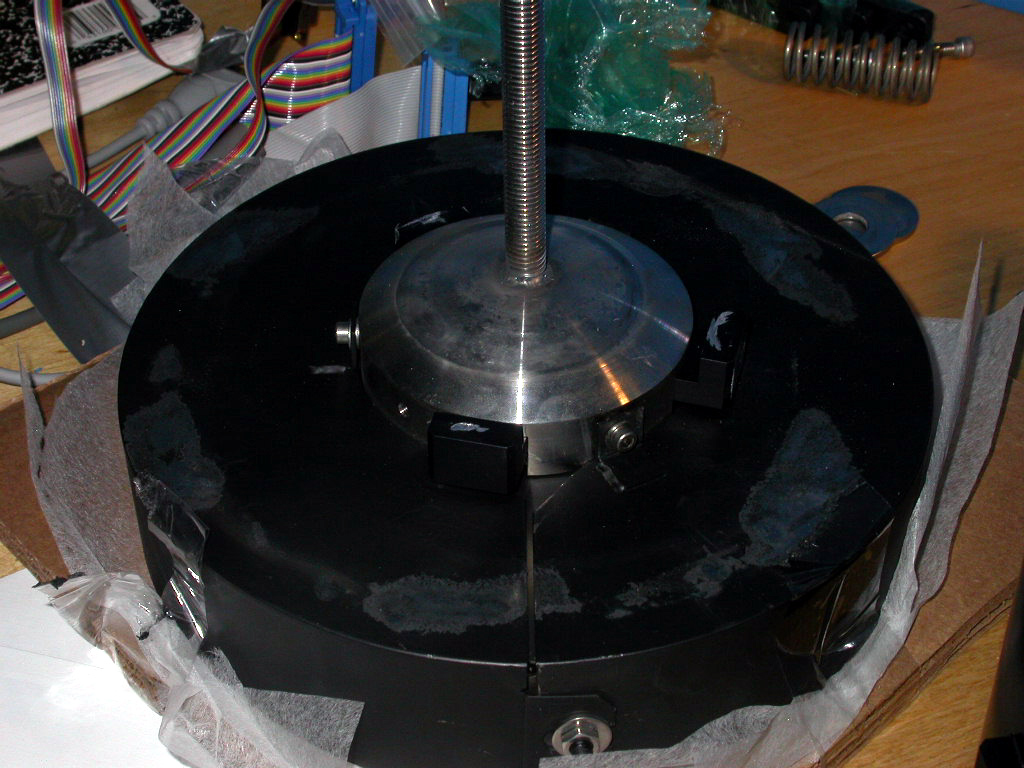
 | Here's the mount, fully assembled. |
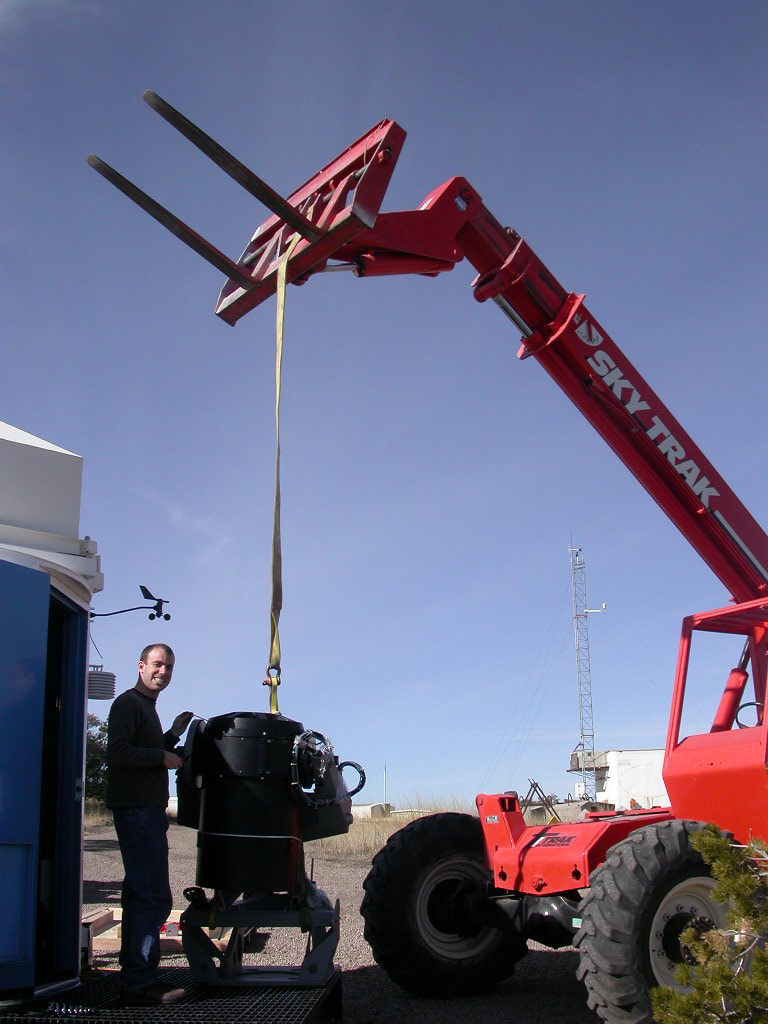 | Eli with the assembled mount. |
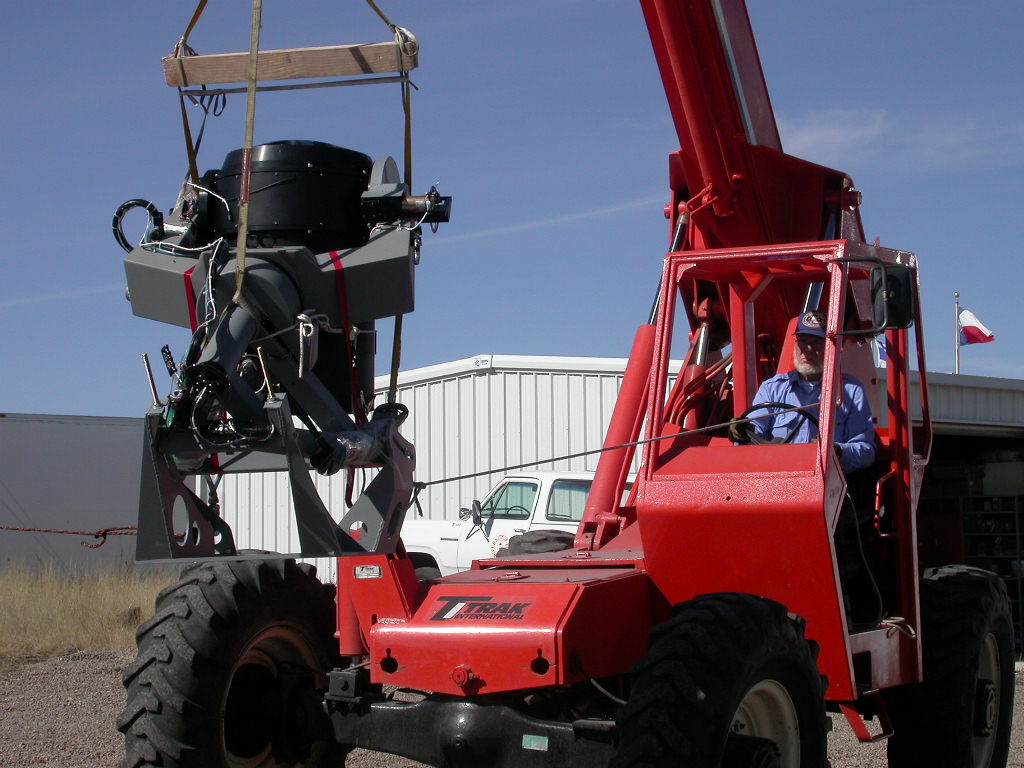
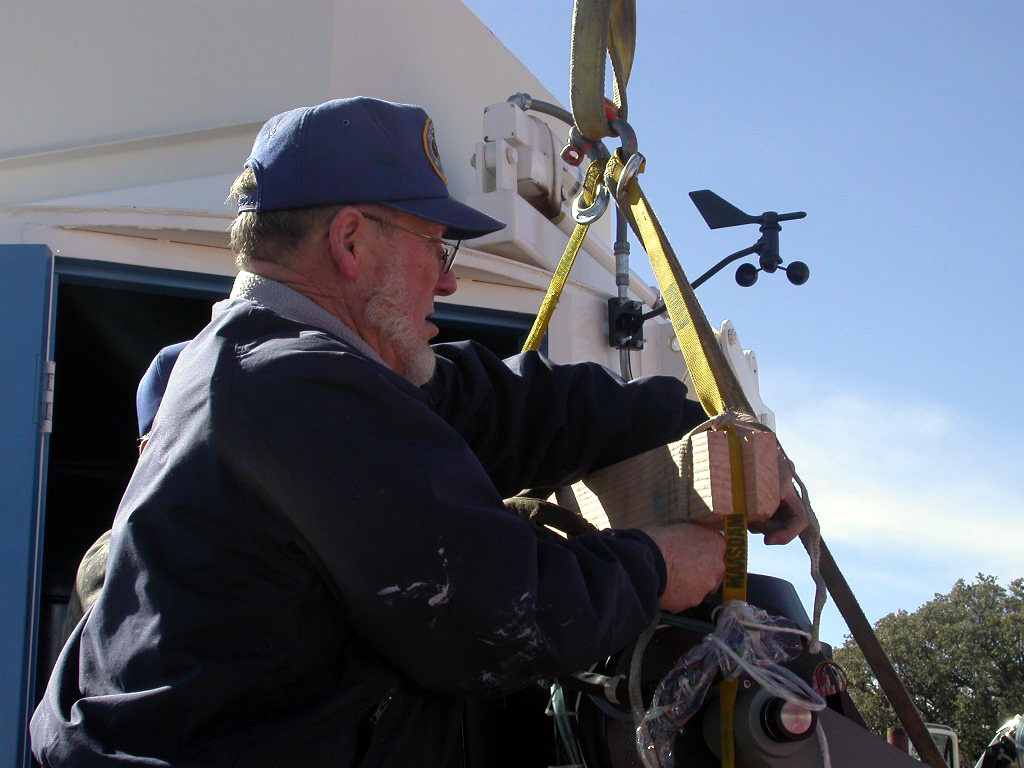 | Fred and Johnny cut grooves into this 4x4 to make sure the straps wouldn't put tension on the sensitive parts of the mount. |
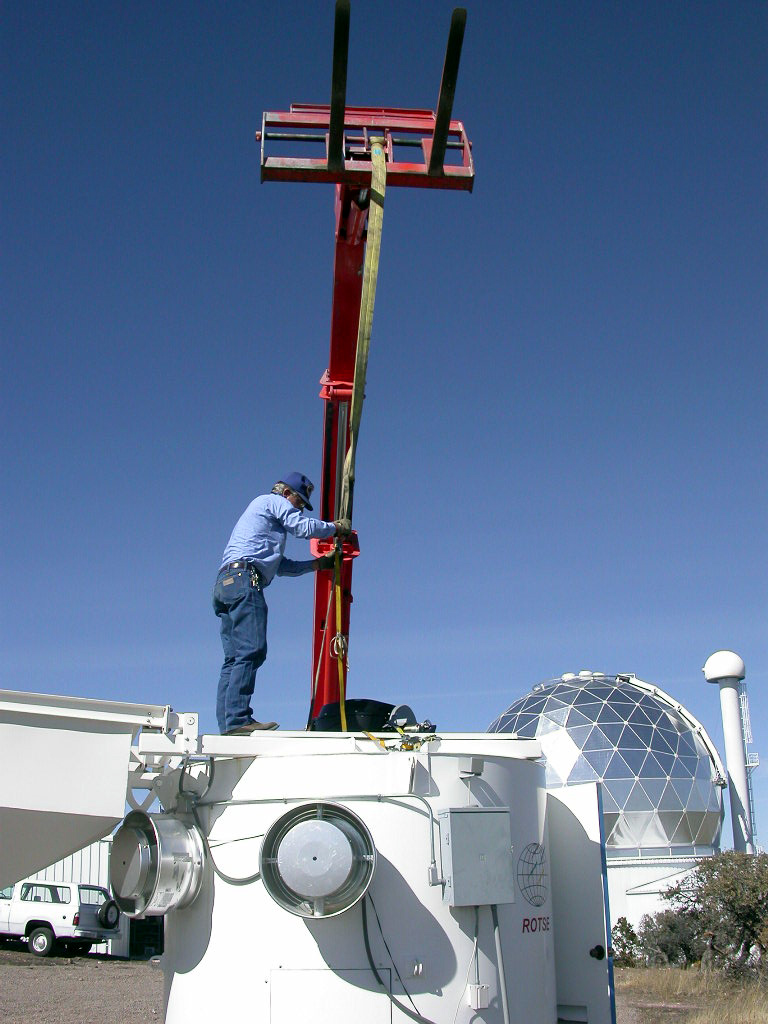
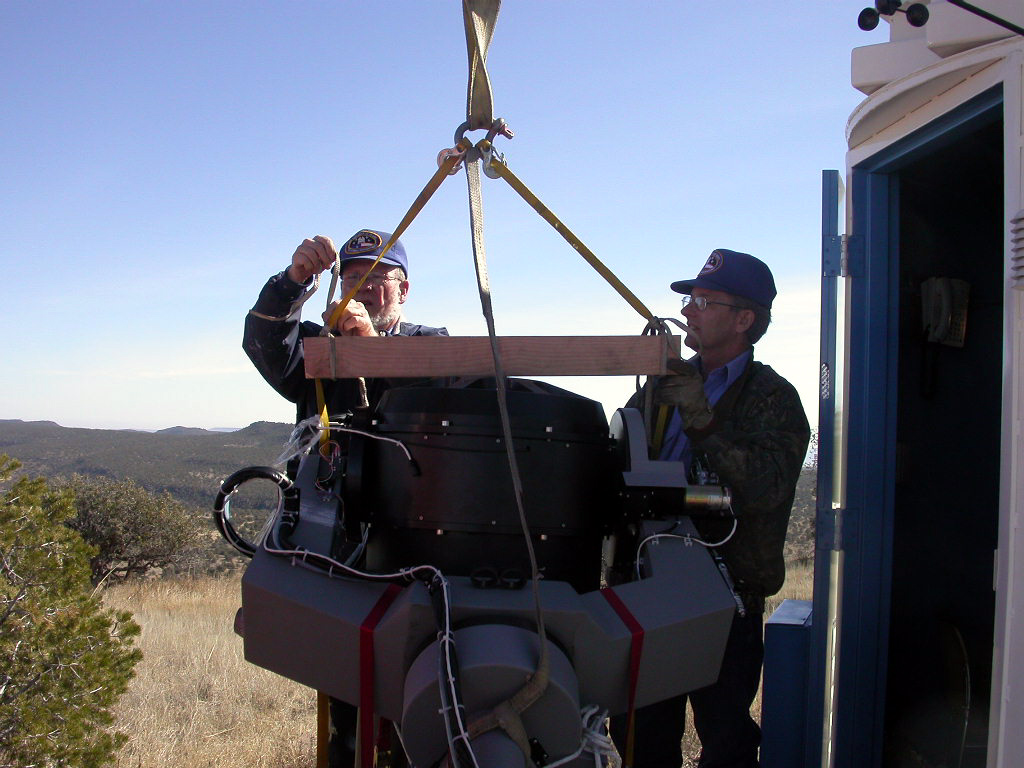 | Here they are making sure everything is secure. |
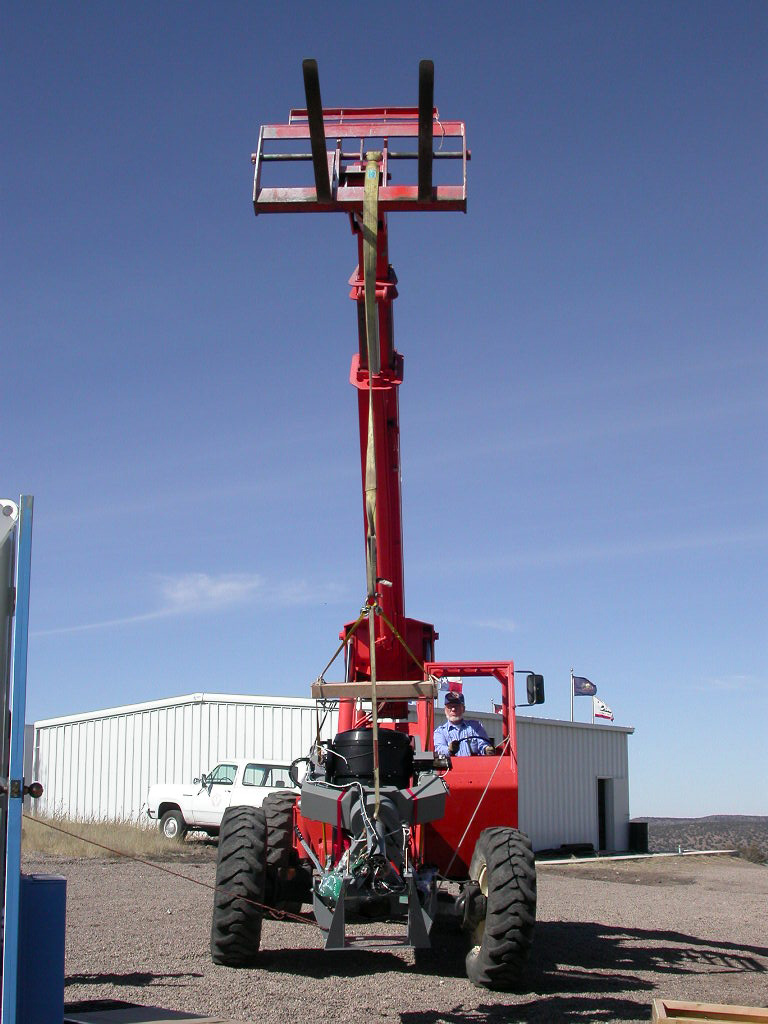 | Moving the forklift into a better position. |
 | Fred held onto one rope... |
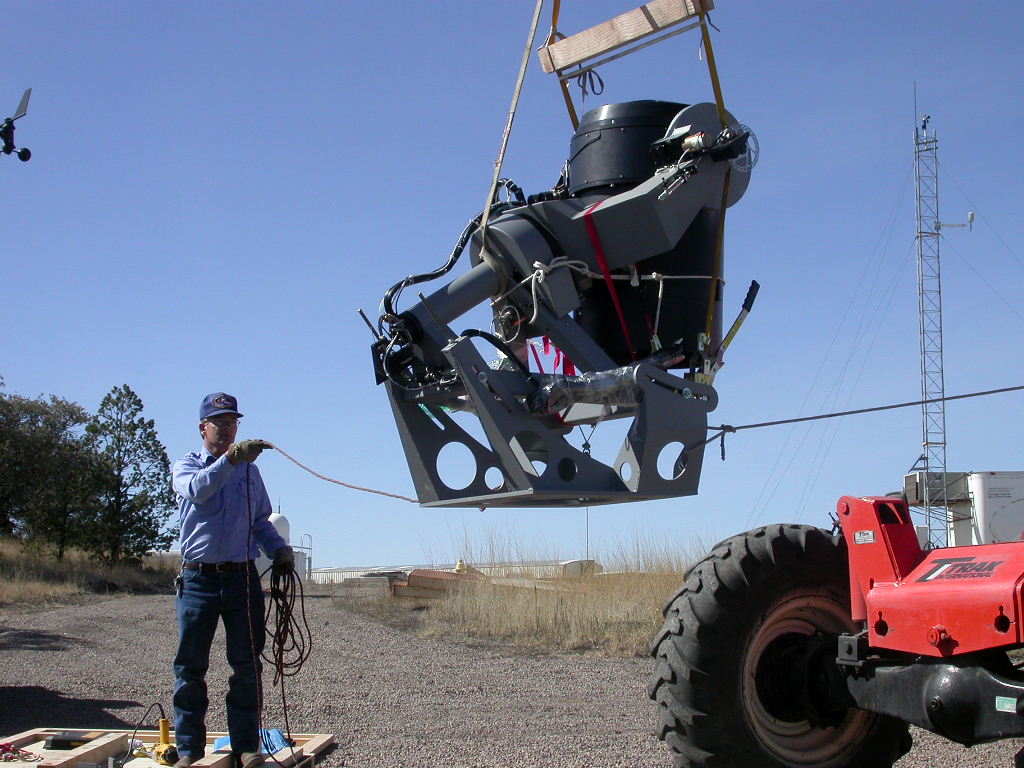 | And Johnny got the other. |
 | They had to move the forklif in very short steps, since its axes of motion were not vertical/ horizontal. |
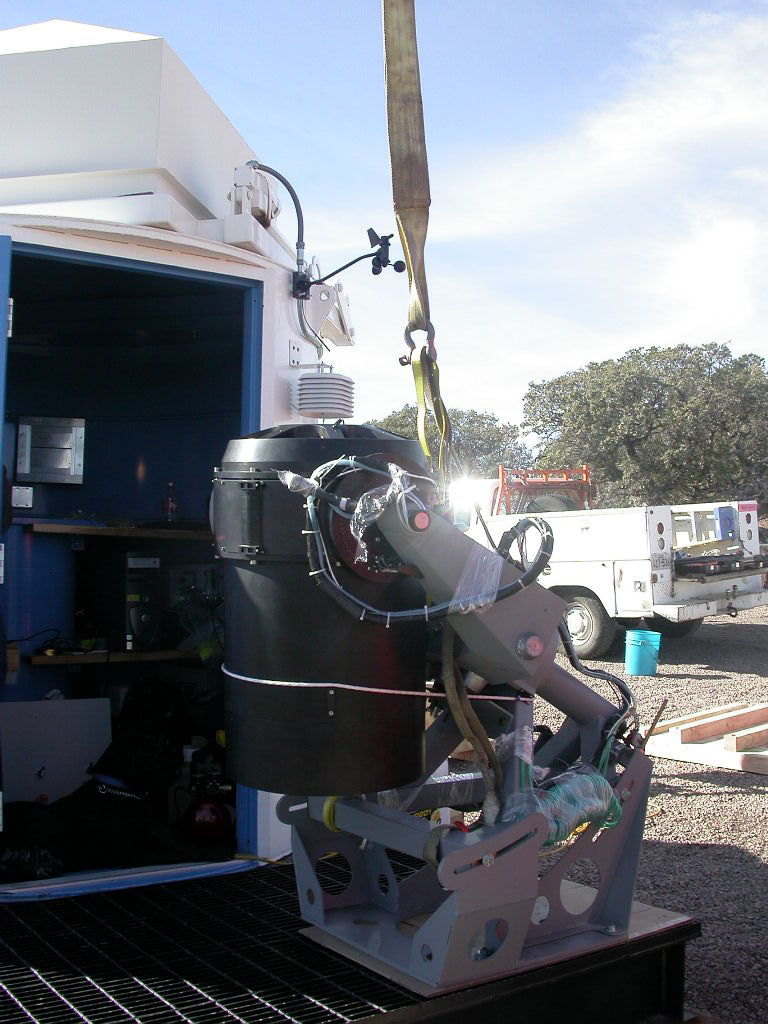
 | Moving the mount into position. |
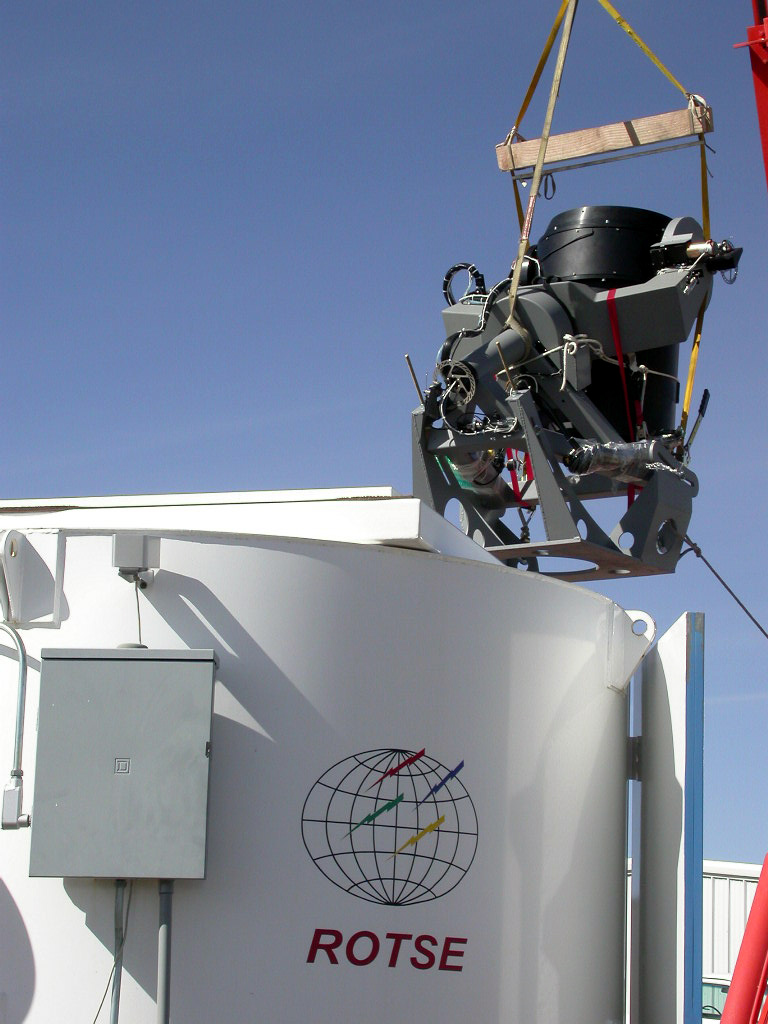
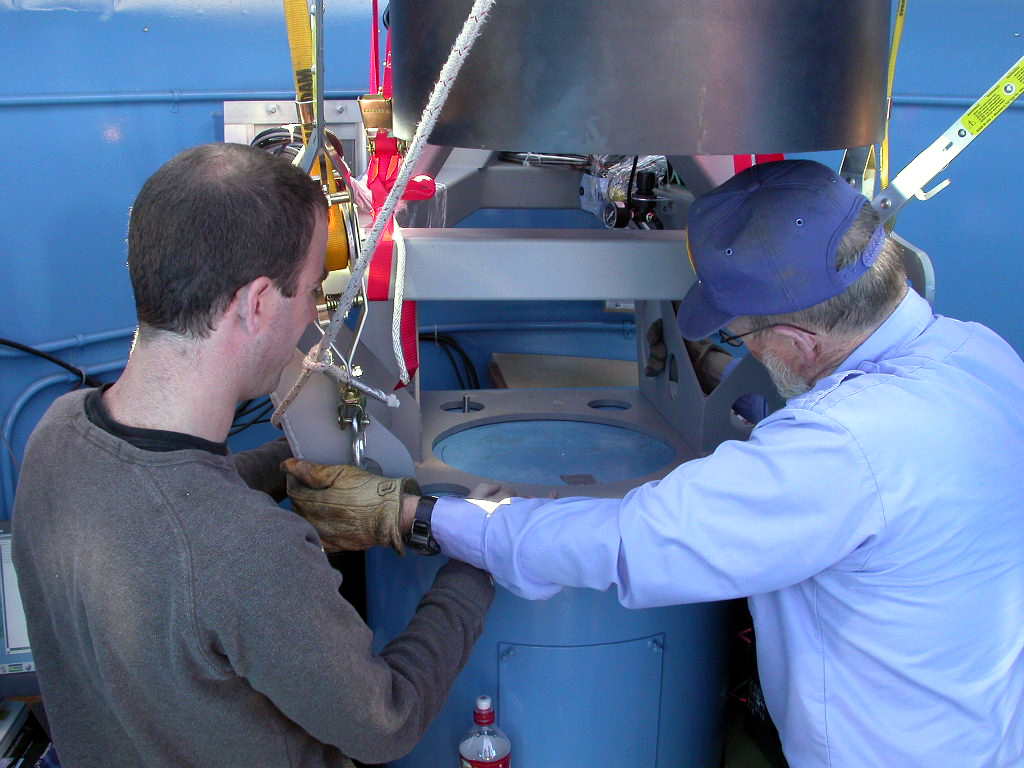
 | Now they started lowering it. |
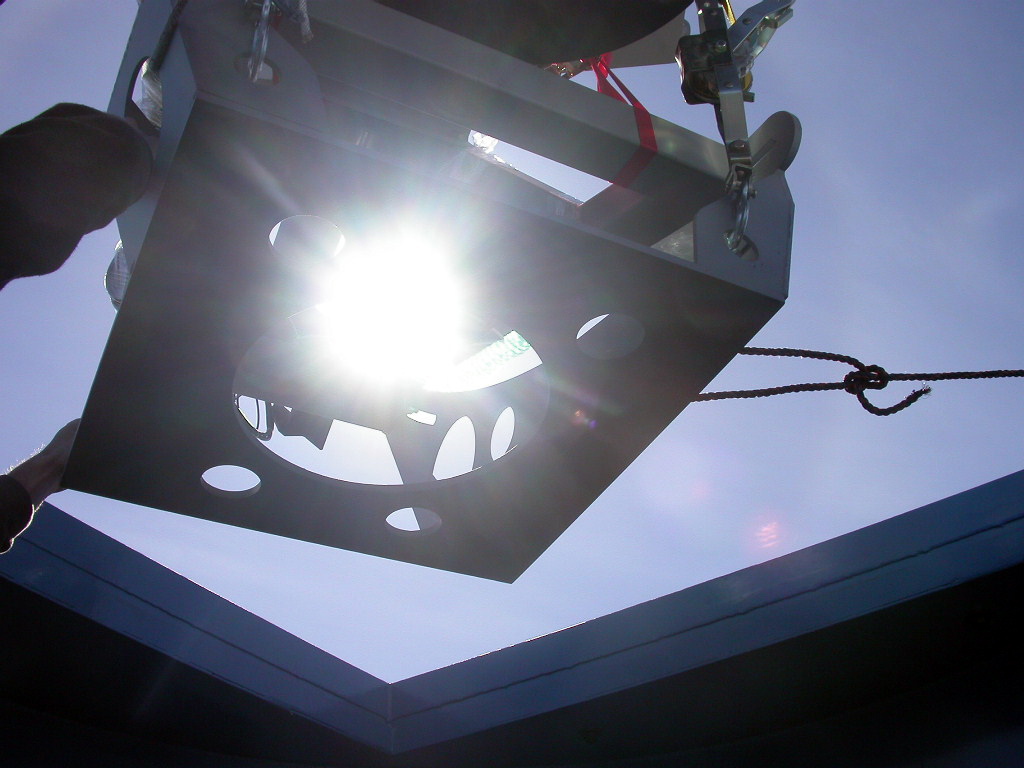 | As Fred slowly lowered it, |
 | we made sure it landed on the pier properly. |
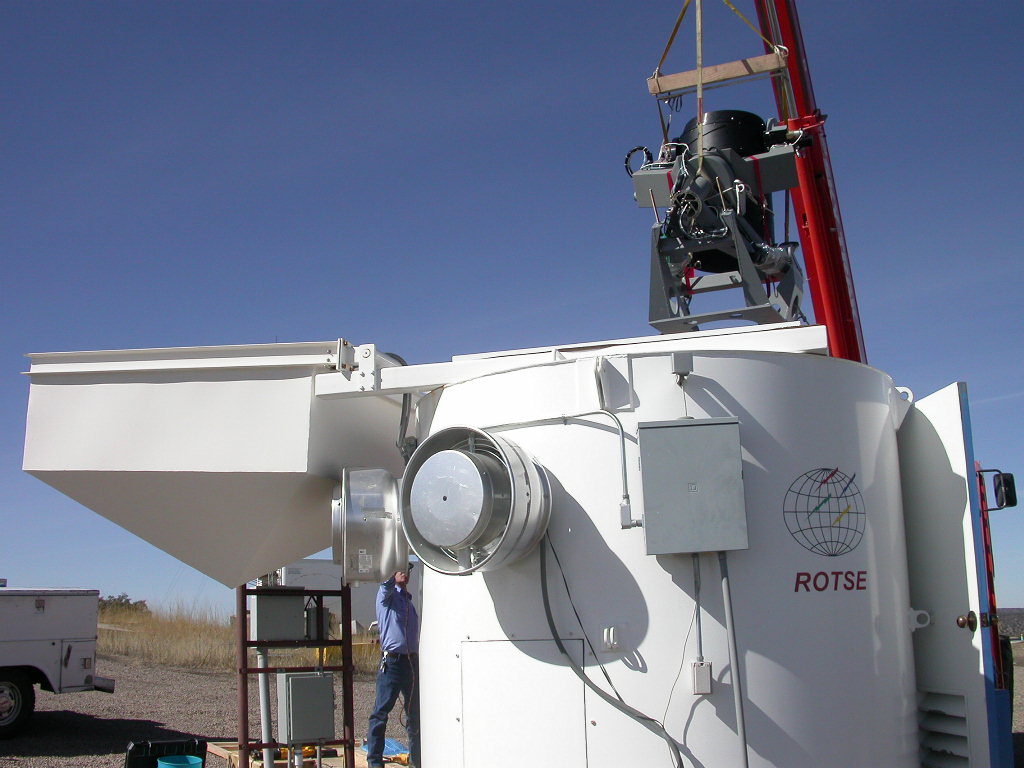
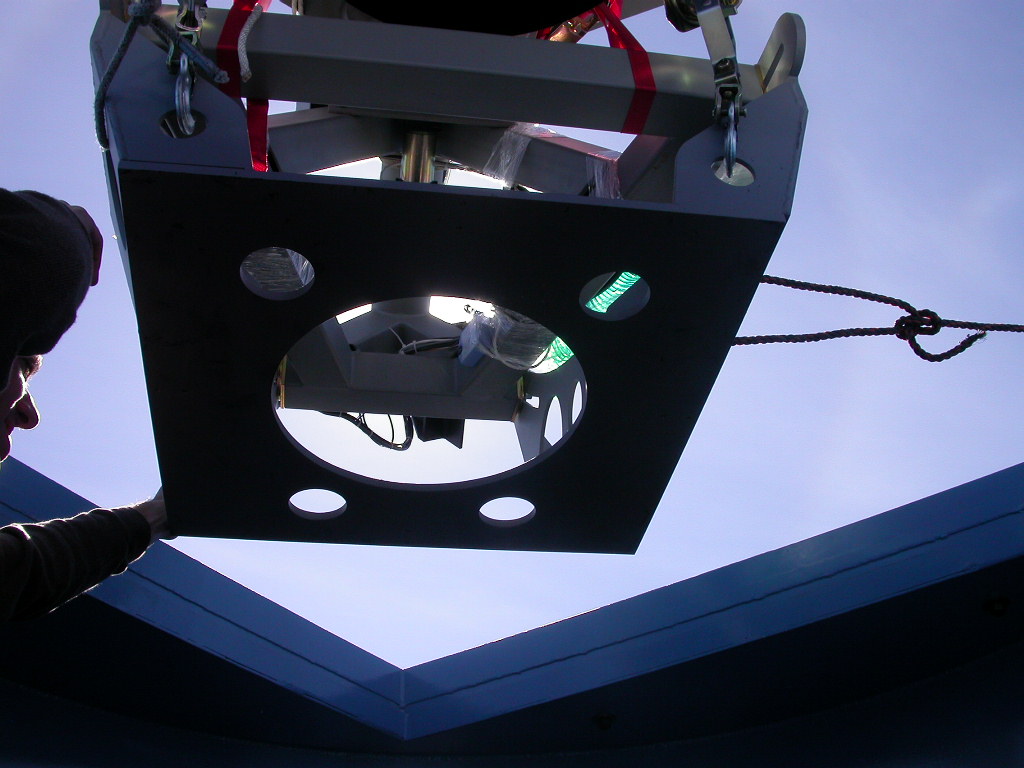
 | Disappearing into the enclosure. |
 | Making sure it was oriented correctly before removing the harness. |
 | Removing the harness. |
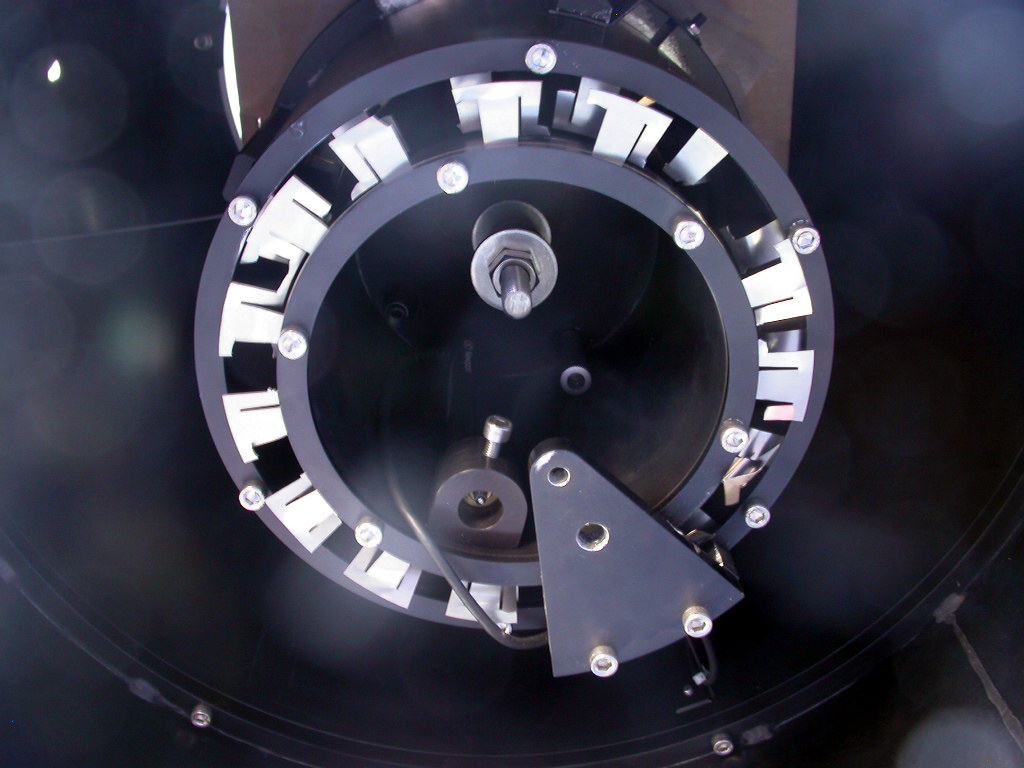 | Here was our first sign of trouble. The flex metal is shredded, and the inner cylinder is clearly a long way away from where it should be. |
 | Note the scraping on the back of the secondary. |
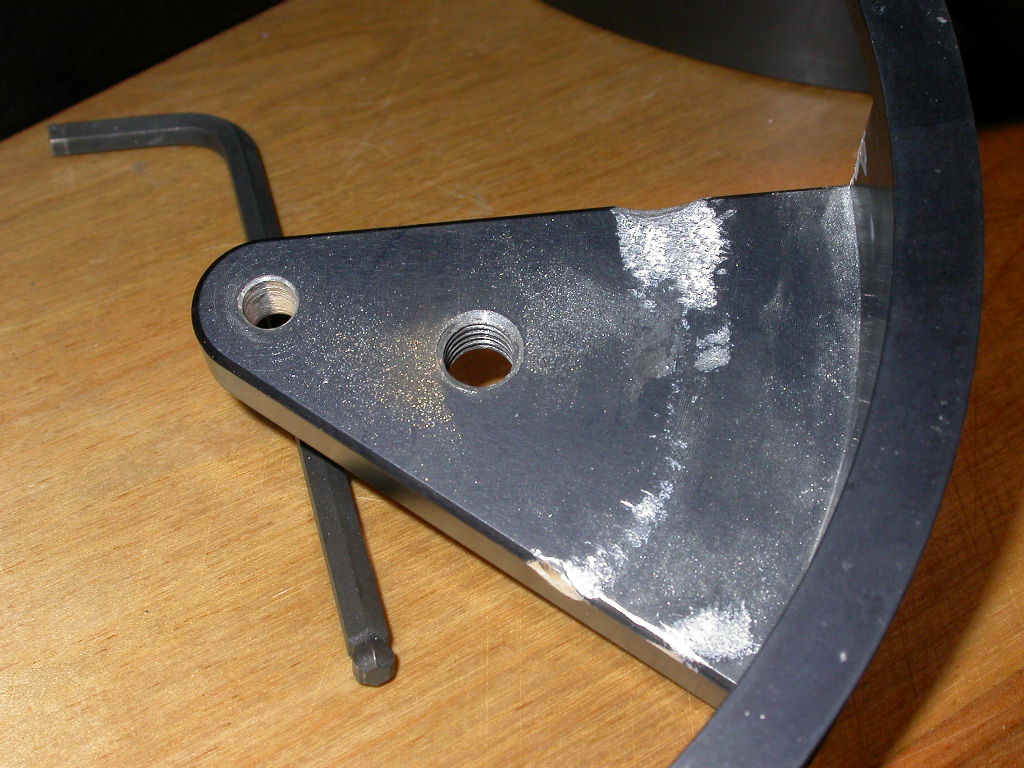 | This triangle bit was also scraped by something. |
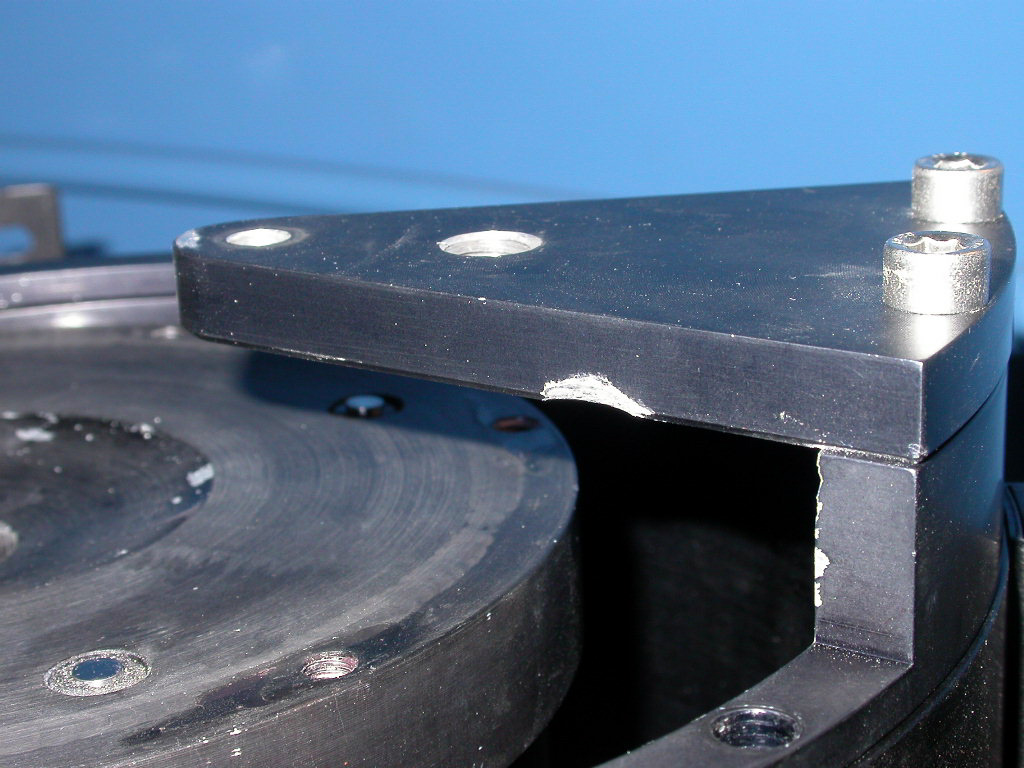 | You can see here how part of the edge was worn away. |